Layout
Overview
Layout files have the .lay extension and are assigned to components to define or override the graphical aspects of the fields to be displayed.
They are primarily used with the BOX and INP components, which support various field arrangement structures.
Additionally, layout files can be utilized to assign graphical shapes to a component. For more detailed information, please refer here.
Creating Layouts
Before creating a layout, ensure that the desired appearance is not already covered by a standard layout (for example, the BOX component supports up to eight standard layouts)
or by setup attributes that allow you to arrange fields in a specific manner without the need for a custom layout.
Layouts use the same grid syntax as scheda (see detailed information here).
It is best practice to use sections by specifying their dimensions to maintain consistency and clarity.
::Sez Pos="A" Dim="20%"
::Fld Nam="<column_name>"
Additionally, if multiple columns are anticipated, they can be directly specified to simplify the layout, resulting in a more readable and clean design.
Instead of:
::Sez Pos="3A"
  ::Fld Nam="<column_name1>"
::Sez Pos="3B"
  ::Fld Nam="<column_name2>"
::Sez Pos="3C"
  ::Fld Nam="<column_name3>"
Do:
::Sez Pos="3" Columns="3"
  ::Fld Nam="<column_name1>"
  ::Fld Nam="<column_name2>"
  ::Fld Nam="<column_name3>"
Applying Styles to Fields
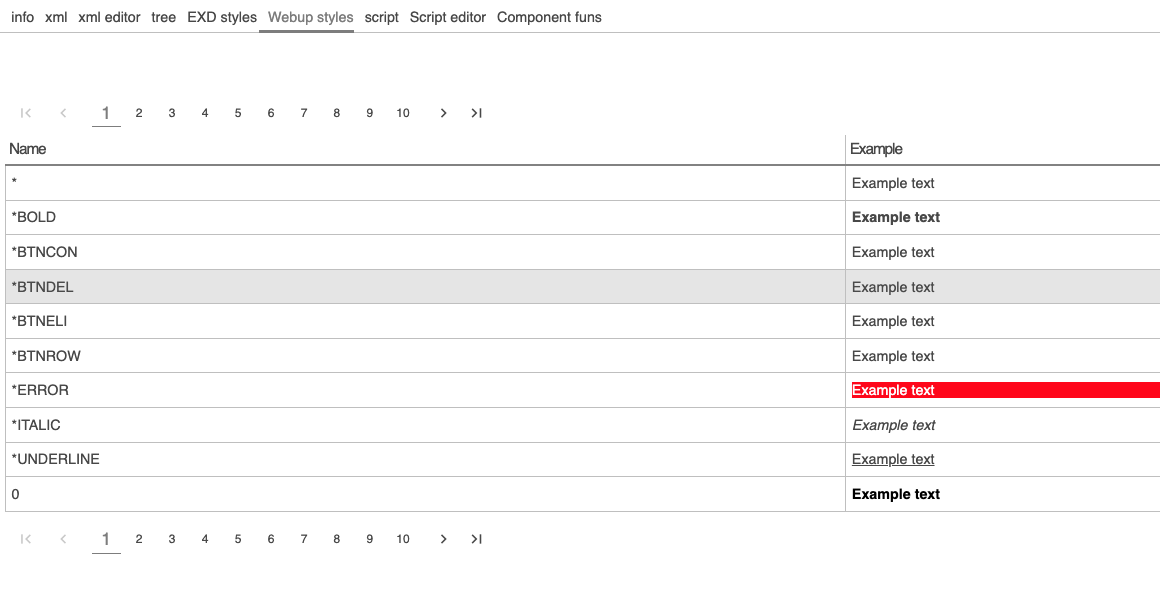
You can assign a style to each field. Before creating a new style from scratch, ensure that a desired standard style does not already exist in Webup.
You can view all available standard Webup styles in the Webup styles tab located in the debugger of each EXD component (scheda).
Defining a Standard Style
You can define a standard style as follows:
::Sez Pos="1" Sty="<style_code>"
Defining a Custom Style
If you need a custom style, you can define it at the scheda level in the following way:
In scheda script:
::G.STY Name="TIT" Desc="TIT" FontSize="10" FontColor=”R078G144B143” FontBold="Yes" Align="left"
Then, reference it in your layout as shown below:
::Sez Pos="1" Sty="TIT"
Specifying Field Labels Using Derived Fields
When defining labels for your fields, derived fields can be utilized by marking them with Ori=D.
There are two primary methods for deriving labels:
- Derived from Column Name
- Forced value
Derived from Column Name
In this approach, the label for the field is automatically generated based on the name of the corresponding column. This method ensures consistency and reduces the need for manual label definitions.
::Sez Pos="1" Sty="0"
    ::Fld Nam="NAME" Ori="D" Fun="HEAD"
Forced Value
Alternatively, you can manually set a specific value for the label. This method provides greater control over the label text, allowing for customization beyond the default naming conventions.
::Sez Pos="1" Sty="0"
    ::Fld Nam="NAME" Ori="D" Fun="FIX" Par="Cst(Client Name)"