Installing Data
Now that you have setup ArgoCD, you can use it to deploy Data.
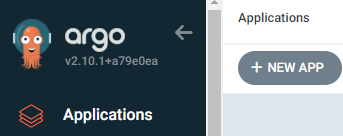
1. Create a new application
From the ArgoCD Web UI, select Applications on the left side menu, and then click on the + NEW APP button
2. App Metadata
Fill out the GENERAL form:
- give a name to this Data deployment. It's suggested to use lowercase kebab-case such as
data-devorstaging-customer-cloud - use the project
default - leave the sync policy as Manual

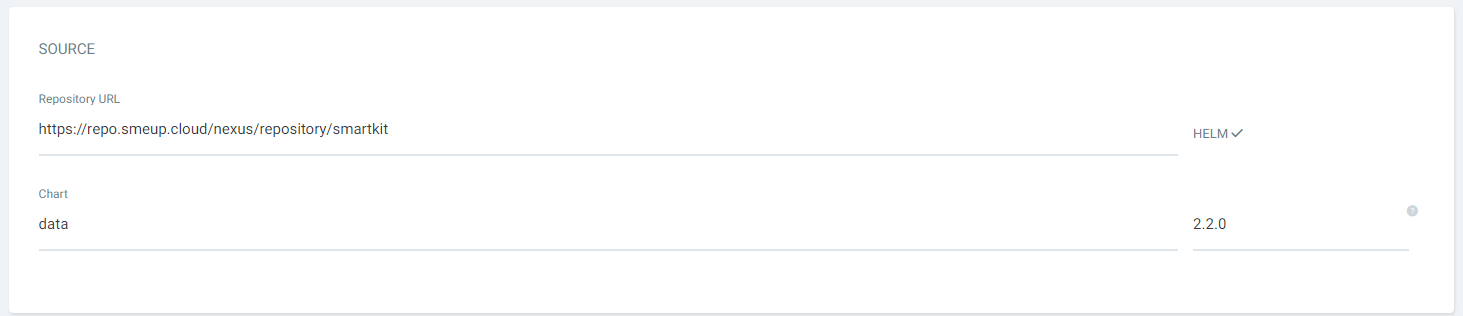
3. App Source
Fill out the SOURCE form:
- select the only
Repository URLfrom the dropdown menu - select the Chart
data - choose the version of Data you want to deploy. It is highly recommended to deploy the latest release
Pre-release versions such as 3.0.0-alpha.1 are experimental and should be avoided unless you know what you're doing.
4. App Destination
Fill out the DESTINATION form:
- select the only
Cluster URLfrom the dropdown menu (https://kubernetes.default.svc) - type
defaultas the chosen Namespace to deploy Data

5. Data Configuration
Data is configured from VALUES input panel inside the Helm section.
The below configurations are just an example for a Data deployment with Webup and Kokos.
To see advanced Data configurations, look at the configuration docs.
Copy the configurations below into your editor of choice and fill these fields:
kokos.dsl.defaultApiKey- this API Key will be provided to you by Smeupwebup.webup.cfg.devModePassword- a strong password to access webup's admin consolewebup.webup.persistence.storageClassName- the name of a StorageClass backed by AWS EBS (ReadWriteOnce)global.persistence.kokos.storageClassName- the name of a StorageClass backed by AWS EFS (ReadWriteMany)global.persistence.databases.storageClassName- the name of a StorageClass backed by AWS EBS (ReadWriteOnce)
# -- Global Configurations
global:
  persistence:
    kokos:
      storageClassName: <EFS-backed Storage Class Name>
      accessModes: ReadWriteMany
    databases:
      storageClassName: <EBS-backed Storage Class Name>

# -- Kokos Configurations
kokos:
  enabled: true

  # -- Kokos DSL configurations
  dsl:
    # -- Default APIKey or PAT to authenticate to the DSL repositories
    # Note: this token is provided by Smeup
    defaultApiKey: ""

# -- Webup Configurations
webup:
  # -- Enable Webup subchart
  enabled: true
  # -- Webup configurations
  webup:
    cfg:
      # -- Password to enable Webup's Developer Mode
      devModePassword: ""
    persistence:
      storageClassName: efs-sc
      size: 1Gi
      accessModes:
        - ReadWriteOnce

  # -- as400-proxy configs
  as400proxy:
    # -- Install as400-proxy
    enabled: false

# -- RestAPI Configurations
restapi:
  # -- Install RestAPI
  enabled: false
Optional
If you use the AWS load balancer controller with AWS Application Load Balancer (ALB) as ingress you can use the following annotations to configure the specific behavior of the load balancer:
alb.ingress.kubernetes.io/group.name: defines the group name to which this Ingress will belong toalb.ingress.kubernetes.io/listen-ports: defines to which ports the ALB will listen toalb.ingress.kubernetes.io/actions.ssl-redirect: action that redirects all incoming HTTP traffic to HTTPSalb.ingress.kubernetes.io/healthcheck-path: specifies the HTTP path for the health-checksalb.ingress.kubernetes.io/scheme: specifies the load-balancer scheme. E.g. internet-facing (creates a load balancer with a publicly accessible DNS name), internal (creates a load balancer with a DNS name that resolves to private IP addresses)alb.ingress.kubernetes.io/ssl-redirect: enables SSL redirect to the SSL port specifiedalb.ingress.kubernetes.io/target-type: specifies how traffic is routed to pods. E.g. instance, ip, lambdaalb.ingress.kubernetes.io/group.order: defines the priority across all Ingresses within the same IngressGroupalb.ingress.kubernetes.io/certificate-arn: specifies the ARN certificate of the EKS cluster
You can find a complete list of ALB annotations here
These annotations must be placed within the various applications configurations; for example:
kokos:
  # -- Kokos Dispatcher configurations
  dispatcher:
    # ... other configurations
    ingress:
      className: alb
      annotations:
        alb.ingress.kubernetes.io/group.name: data
        alb.ingress.kubernetes.io/listen-ports: '[{"HTTP": 80}, {"HTTPS":443}]'
        alb.ingress.kubernetes.io/actions.ssl-redirect: '{"Type": "redirect", "RedirectConfig": { "Protocol": "HTTPS", "Port": "443", "StatusCode": "HTTP_301"}}'
        alb.ingress.kubernetes.io/healthcheck-path: /readyz
        alb.ingress.kubernetes.io/scheme: internet-facing
        alb.ingress.kubernetes.io/ssl-redirect: '443'
        alb.ingress.kubernetes.io/target-type: ip
        alb.ingress.kubernetes.io/group.order: '999'
        alb.ingress.kubernetes.io/certificate-arn:  arn:aws:acm:AWS_REGION:.........
      ssl:
        redirectHttps: false
Finally, paste the YAML configs into the VALUES form inside the ArgoCD Web UI and click the CREATE button in the top side of the UI.
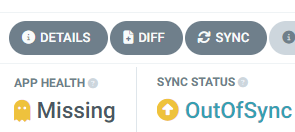
6. Sync (Deploy) Data
After creating the Data application, it will have Missing app health and an OutOfSync status. To sync (deploy) Data, click on the SYNC button
From the sync menu, make sure to check the PRUNE option and click SYNCHRONIZE
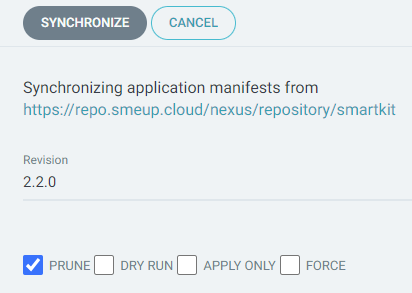
ArgoCD will start deploying Data. The process may take a few minutes during the first installation, since all the container images need to be pulled from scratch.
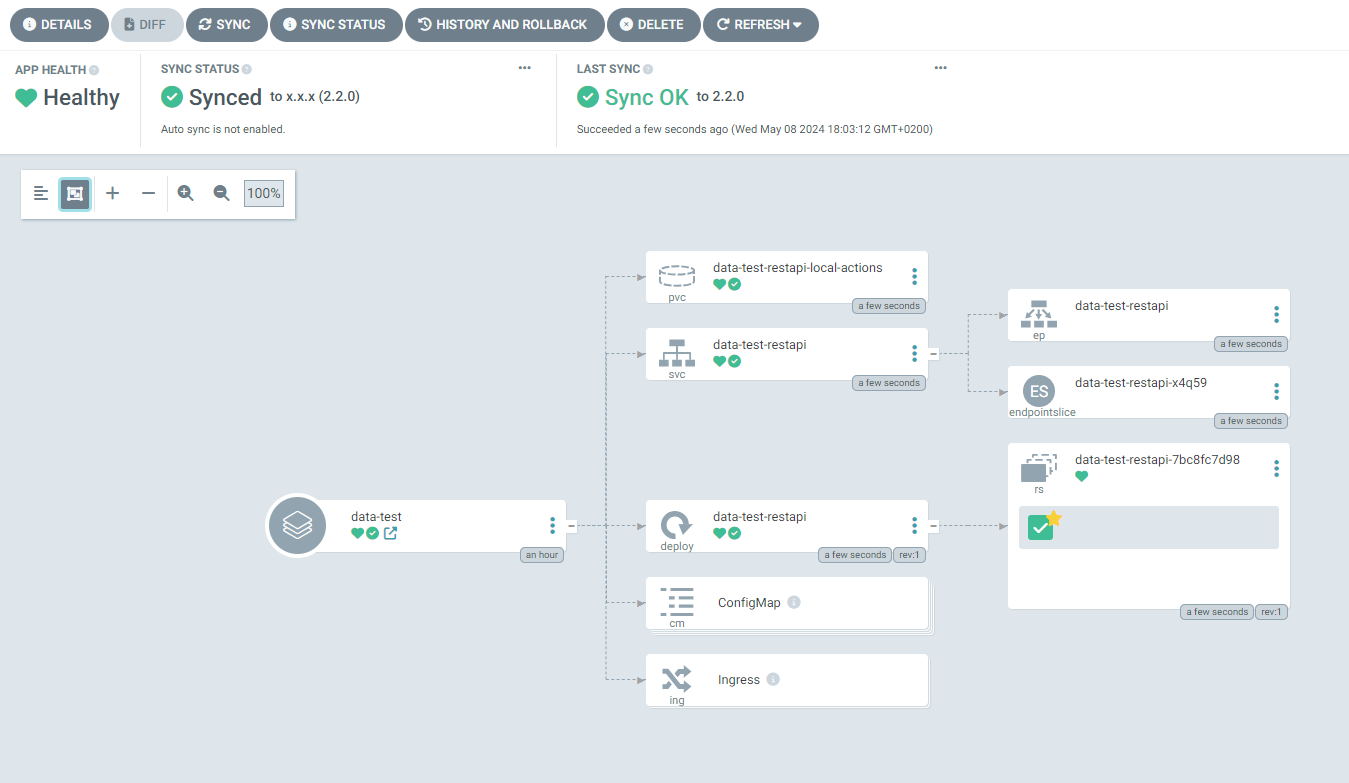
You can check the status of the installation from the APP HEALTH indicator. It will change from Progressing to Healthy once the installation is done.
Congratulations, you've successfully installed Data through AHD! 🎉